

Whether you love them, hate them or tolerate them, needle felted sprouts are seriously cute and a fun way for beginners to get used to needle felting techniques.
Level: Beginner
Method: Absorbing and calming
Time: Around 20-30 minutes per sprout for beginners.

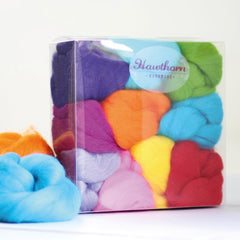
Ingredients
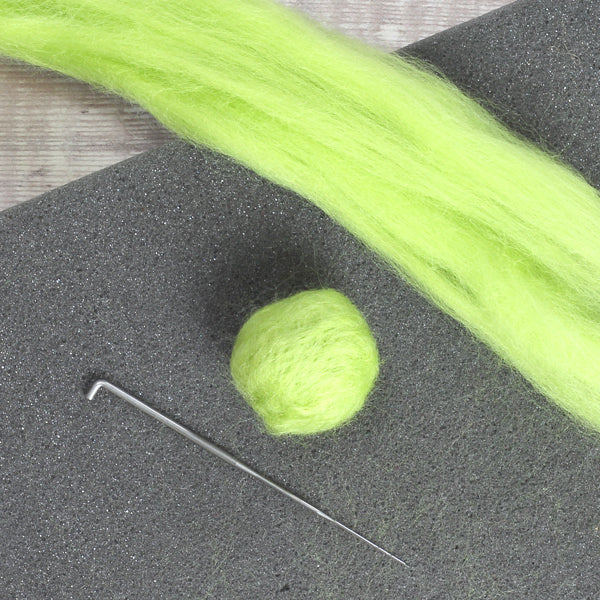
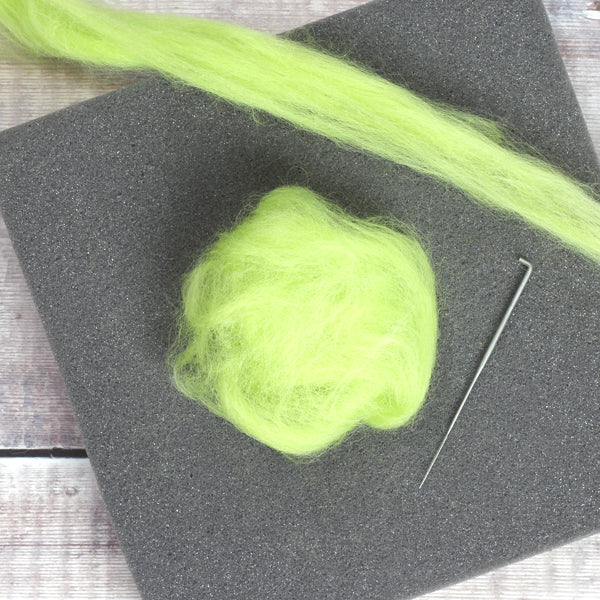
Spring Green Wool (Spring Wool Bundle)
Black Wool (British Breeds Wool Bundle)
Needle Felting Foam
Felting Needle
How to - Sprout Middle
Make a green needle felted bead which is around 3cm in diameter. Watch our video tutorial to find out how.
Sprout leaves
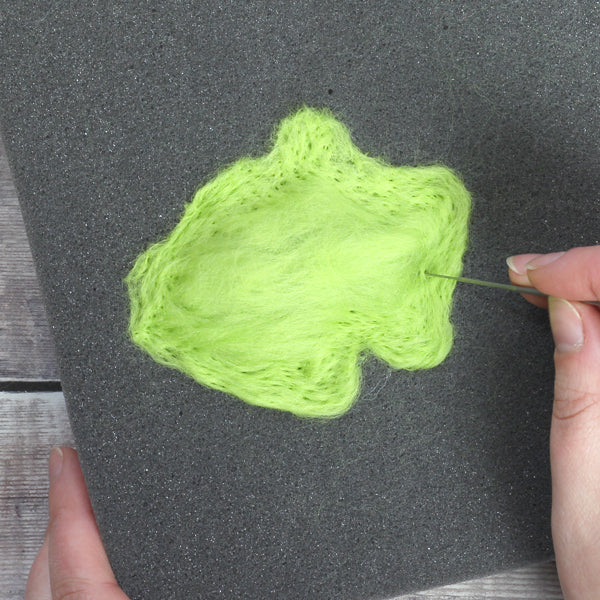
1. Tease off a small handful of green wool and fluff it up like a cloud to even out the fibres.
2. Flatten the wool onto a foam pad, making sure there are no gaps in the wool. You need a thin, even covering around 7-8cm wide.
3. Using a 38-gauge star needle, stab around the edges to create a natural cloud shaped leaf. Carefully use your finger to fold in any loose fibres from around the edge. Turn the foam pad as you work.
4. Once you have felted the edges, felt the inside of the leaf.
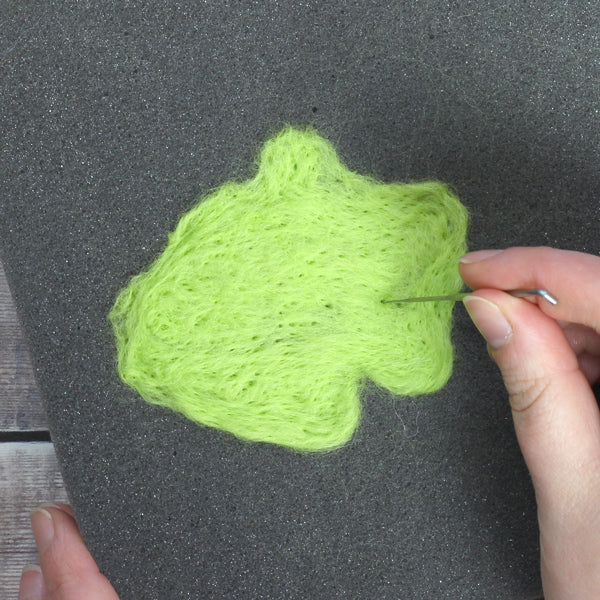
5. Peel the leaf up from the foam pad, flatten the back fibres by rubbing between your hands then lay the leaf face down onto the foam pad and needle felt using the same method.
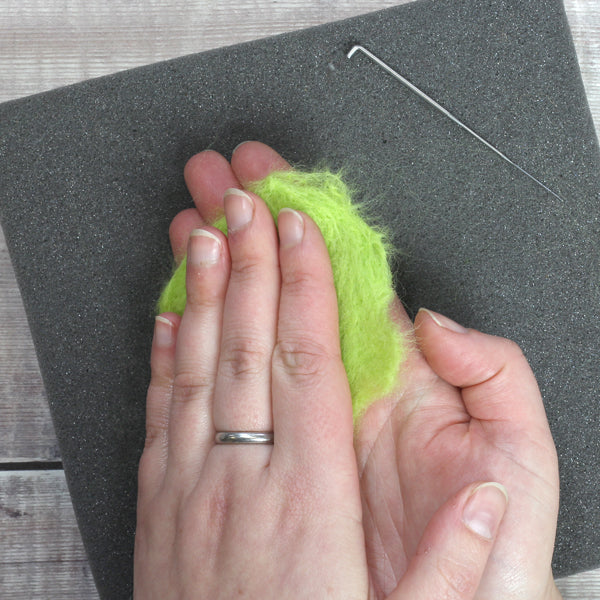
6. Repeat several times until the wool fibres have been felted and stay flattened after you rub the leaf between your hands. Make 2 leaves per sprout.
7. Wrap the leaf around the sprout centre and secure into position at the base by stabbing the pieces together. Be careful of your fingers!

8. Stab the leaf into position in various places creating a wavy, natural effect. Try pinching folded sections together and stab them into place.
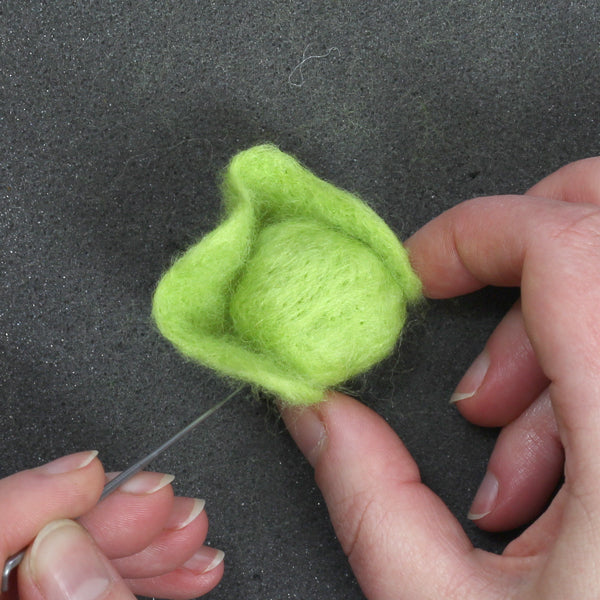
9. Repeat with a second leaf, wrapping it around the sprout, overlapping the first leaf in places.
TIP If you find your leaf is too big, try using just one (although you won’t get the overlapping effect).
Optional: Roll the completed sprout between your hands for a few seconds to achieve a natural effect and maintain the sphere shape.
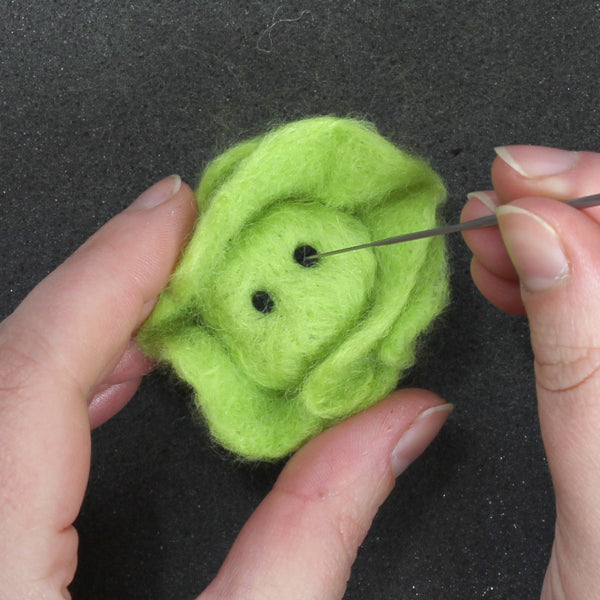
Eyes
Roll two small balls of black wool between your fingers, place into position on the sprout and stab into place.
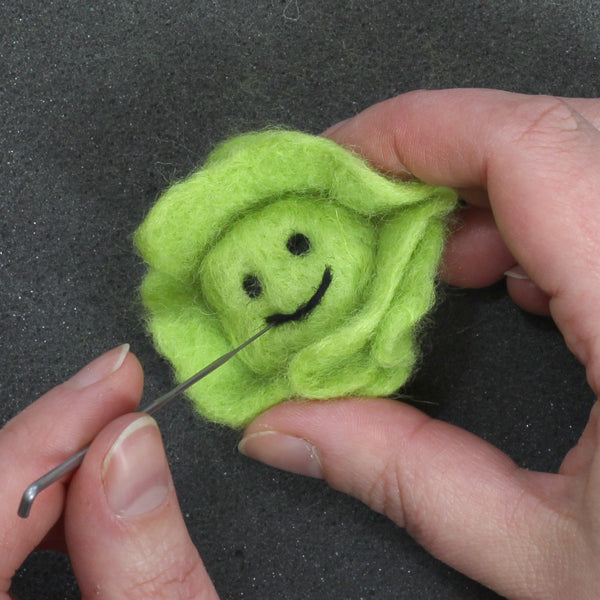
Mouth
Roll a thin sausage of black wool between your fingers, trim to size, then roll again to tighten up the ends. Place into position, securing each end of the mouth first with your needle, then the remaining smile.
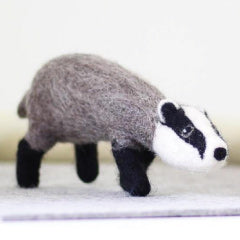
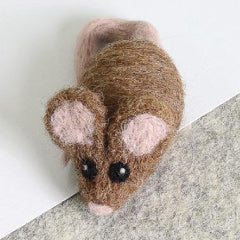
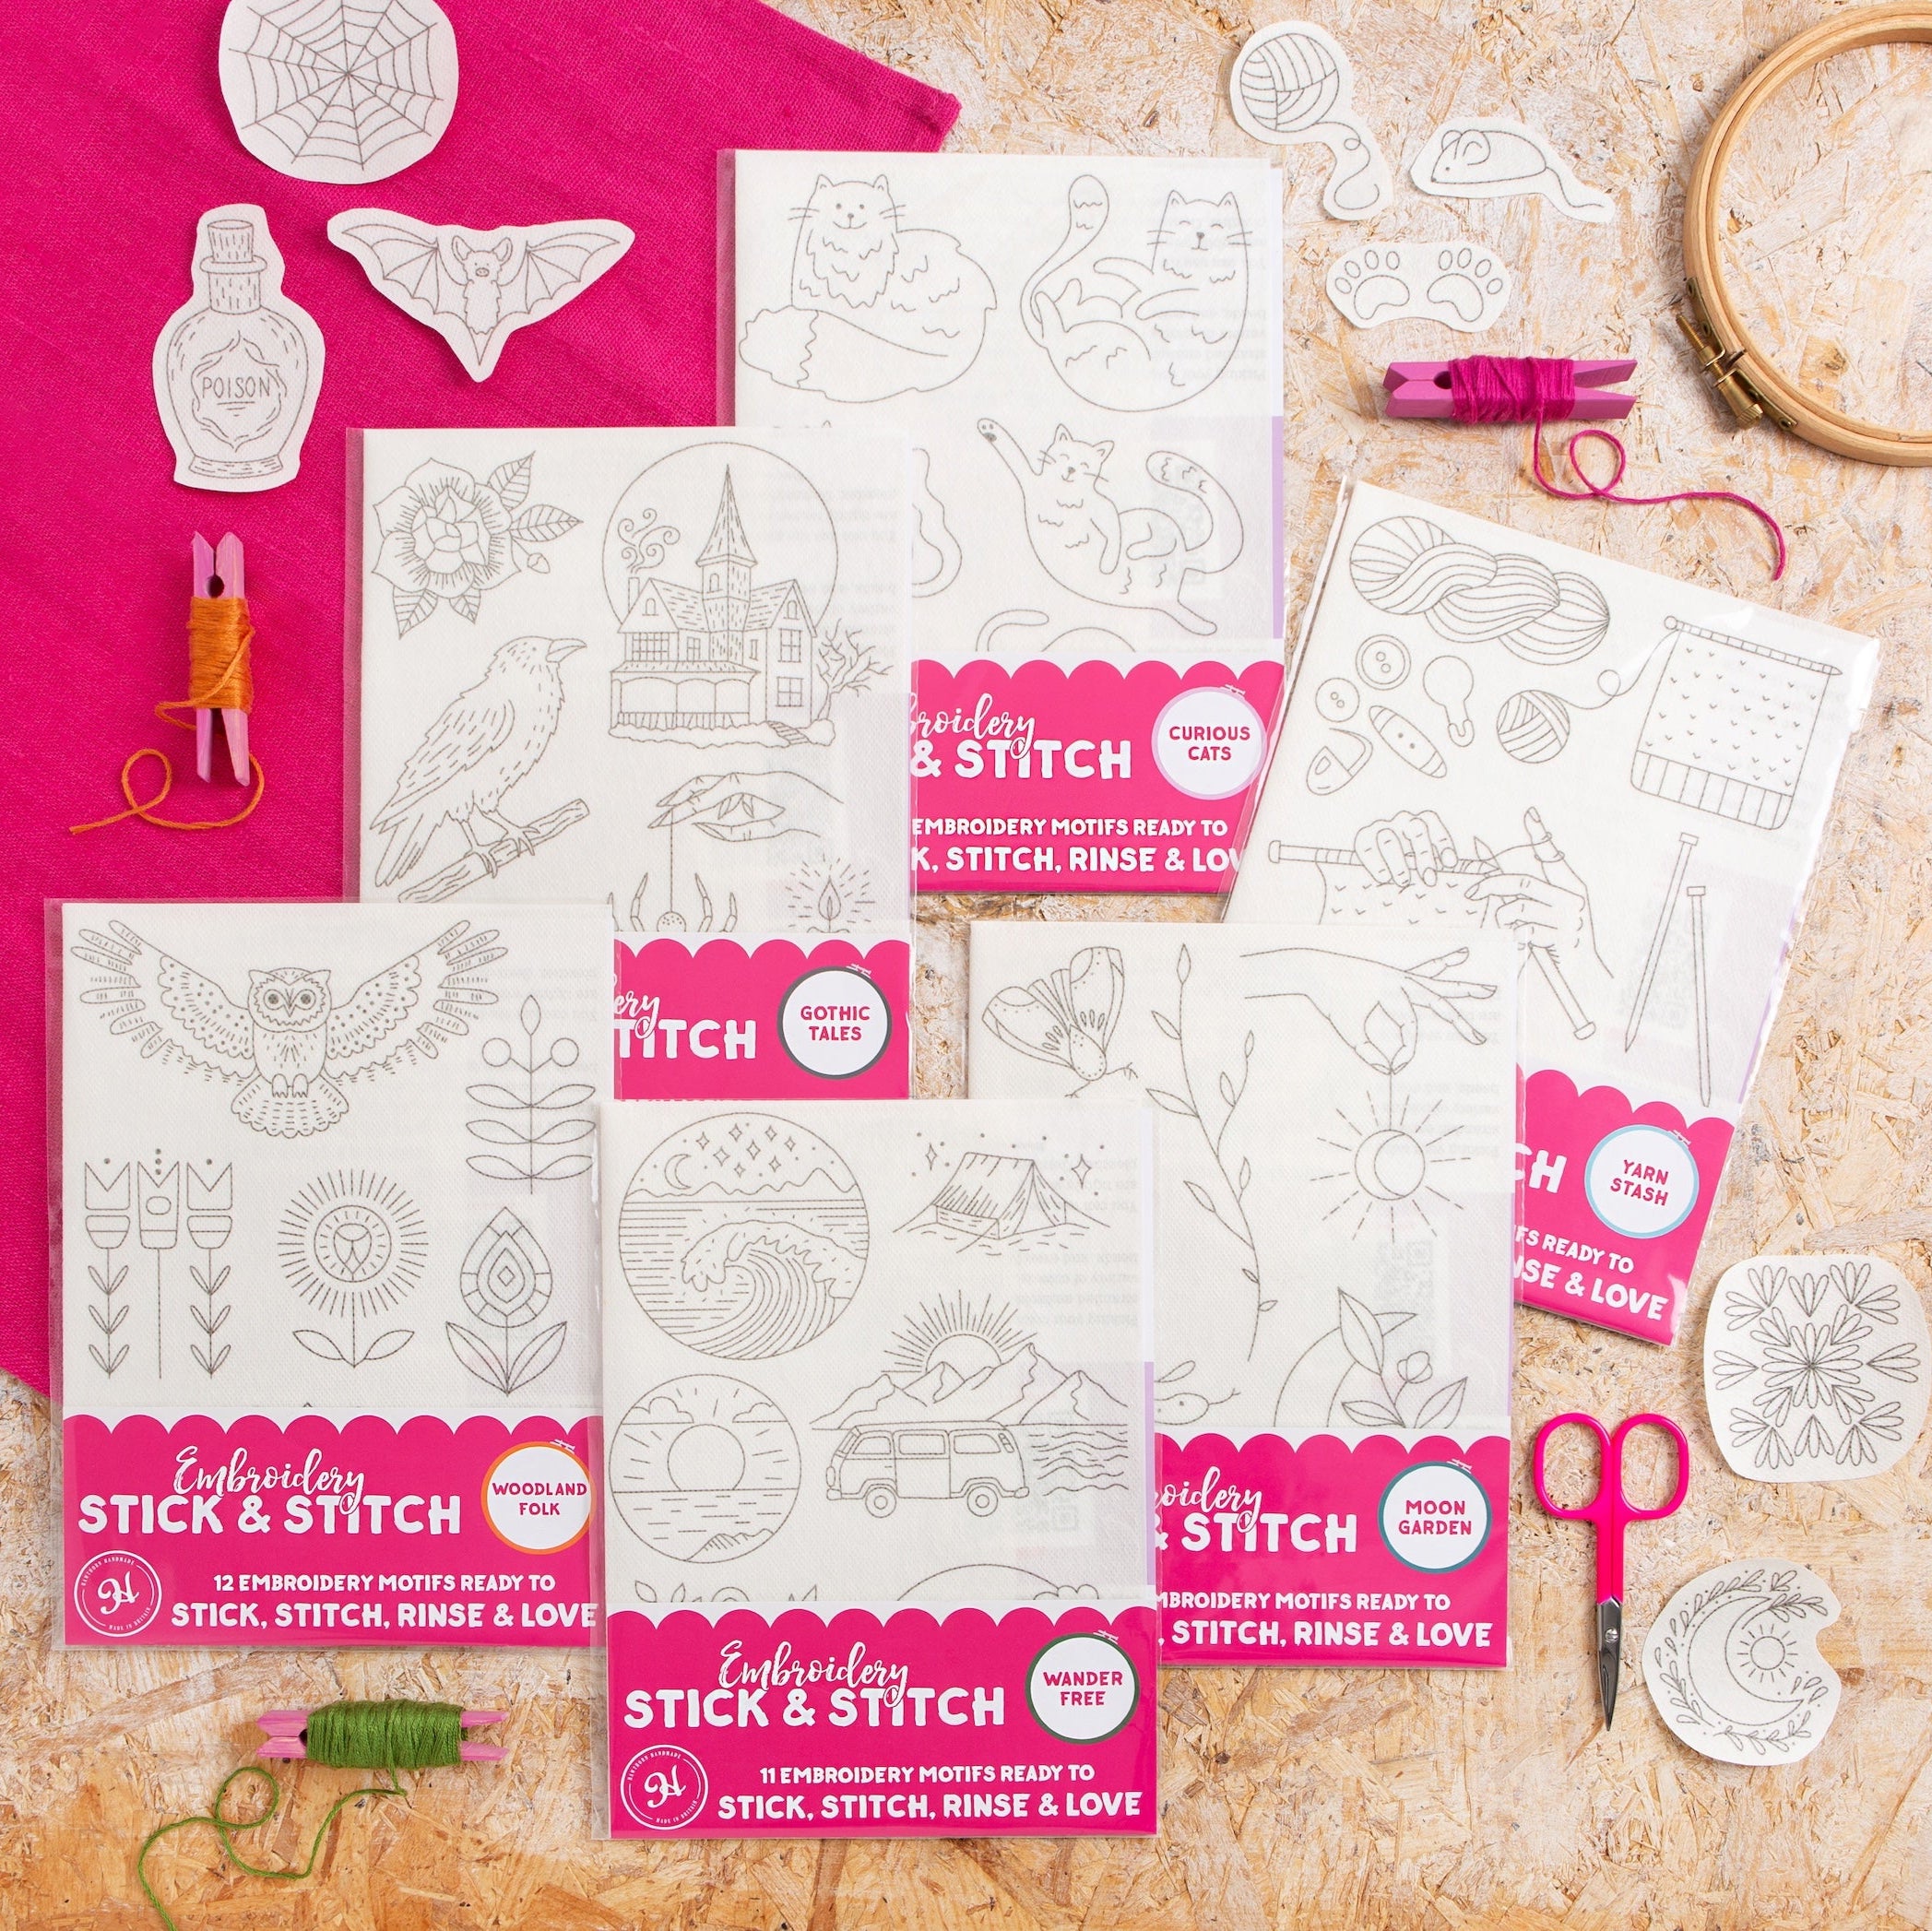
If you’ve enjoyed this project, why not take a peek at our wildlife inspired needle felting kits!
Happy felting!
Stephanie x
Founder & Creative Director, Hawthorn Handmade

Browse all our needle felting