
Stick & Stitch Tips and Stitch Guide
INTRODUCTION
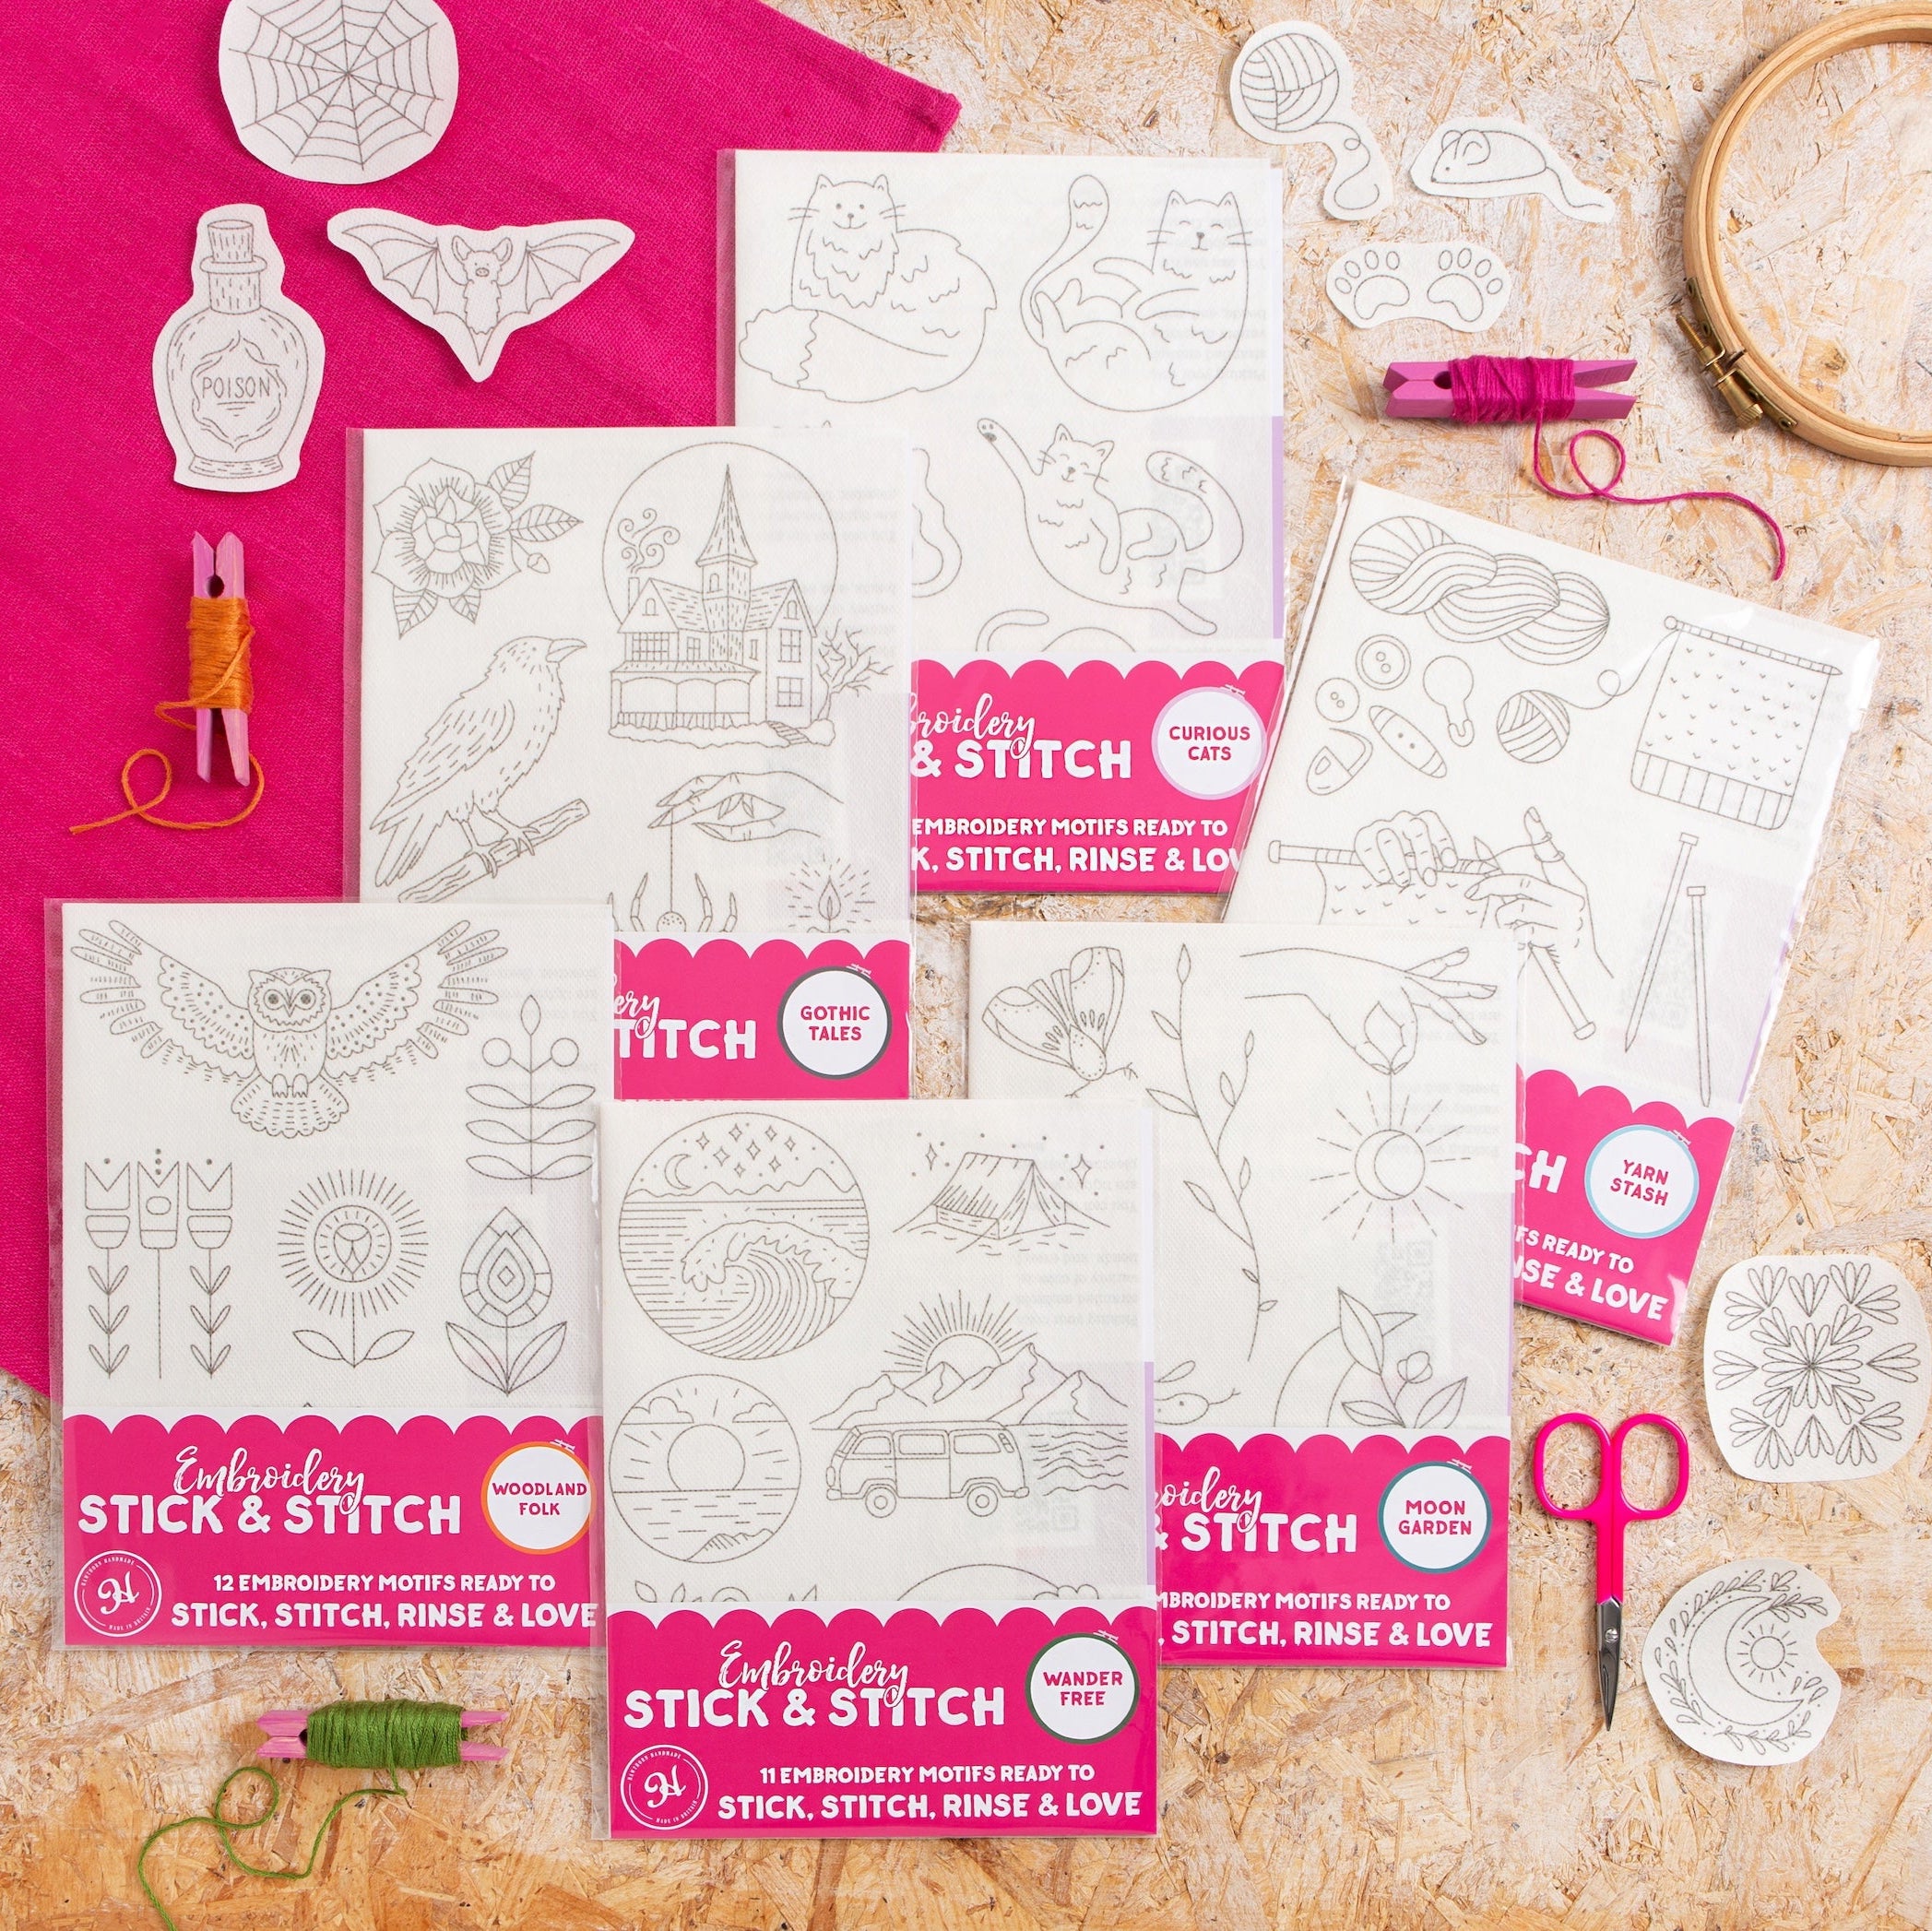
Congratulations on adding one of our Stick & Stitch packs to your stash! Have a read through the instructions included in the pack, and we've added some photos and extra tips and tricks below to help you along.
STITCH GUIDE
You can access our comprehensive stitch guide here, with instructions and illustrations for 15 stitches to use with your Stick & Stitch pack.
USING STICK & STITCH
1. Cut around your chosen motif leaving a small border. Pick where you want it to go.

2. Peel off the backing paper and carefully stick in place on your fabric, pressing firmly all over the motif.

3. Embroider the design, stitching through the sticker and your fabric.

4. Soak the area in warm water for 5-10 minutes, then gently rub the surface to help the sticker dissolve. Rinse the fabric under running water.

5. Once dry, cover the stitching with a clean cloth and press with a low iron.
6. Show off your amazing stitching skills!
TIPS & TRICKS
~ Before sticking the design on your fabric, play around with how it looks by just holding it in place, turn it around etc. so you're sure it's the best placement.
~ If you're not sure about stitching on your chosen fabric, try a test area first with a piece of the non-printed sheet. Pop a bit on your fabric, make a few stitches, leave for at least 24 hours, and wash off. This will make sure your fabric reacts well to the sticker and the washing process.
~ Make sure you use colourfast dyed threads like DMC to avoid the thread running into your fabric when you wash it off. Cheaper unbranded threads are likely to run.
~ Look at more unique floss like variating threads to add interest to your stitching without needing lots of colours.
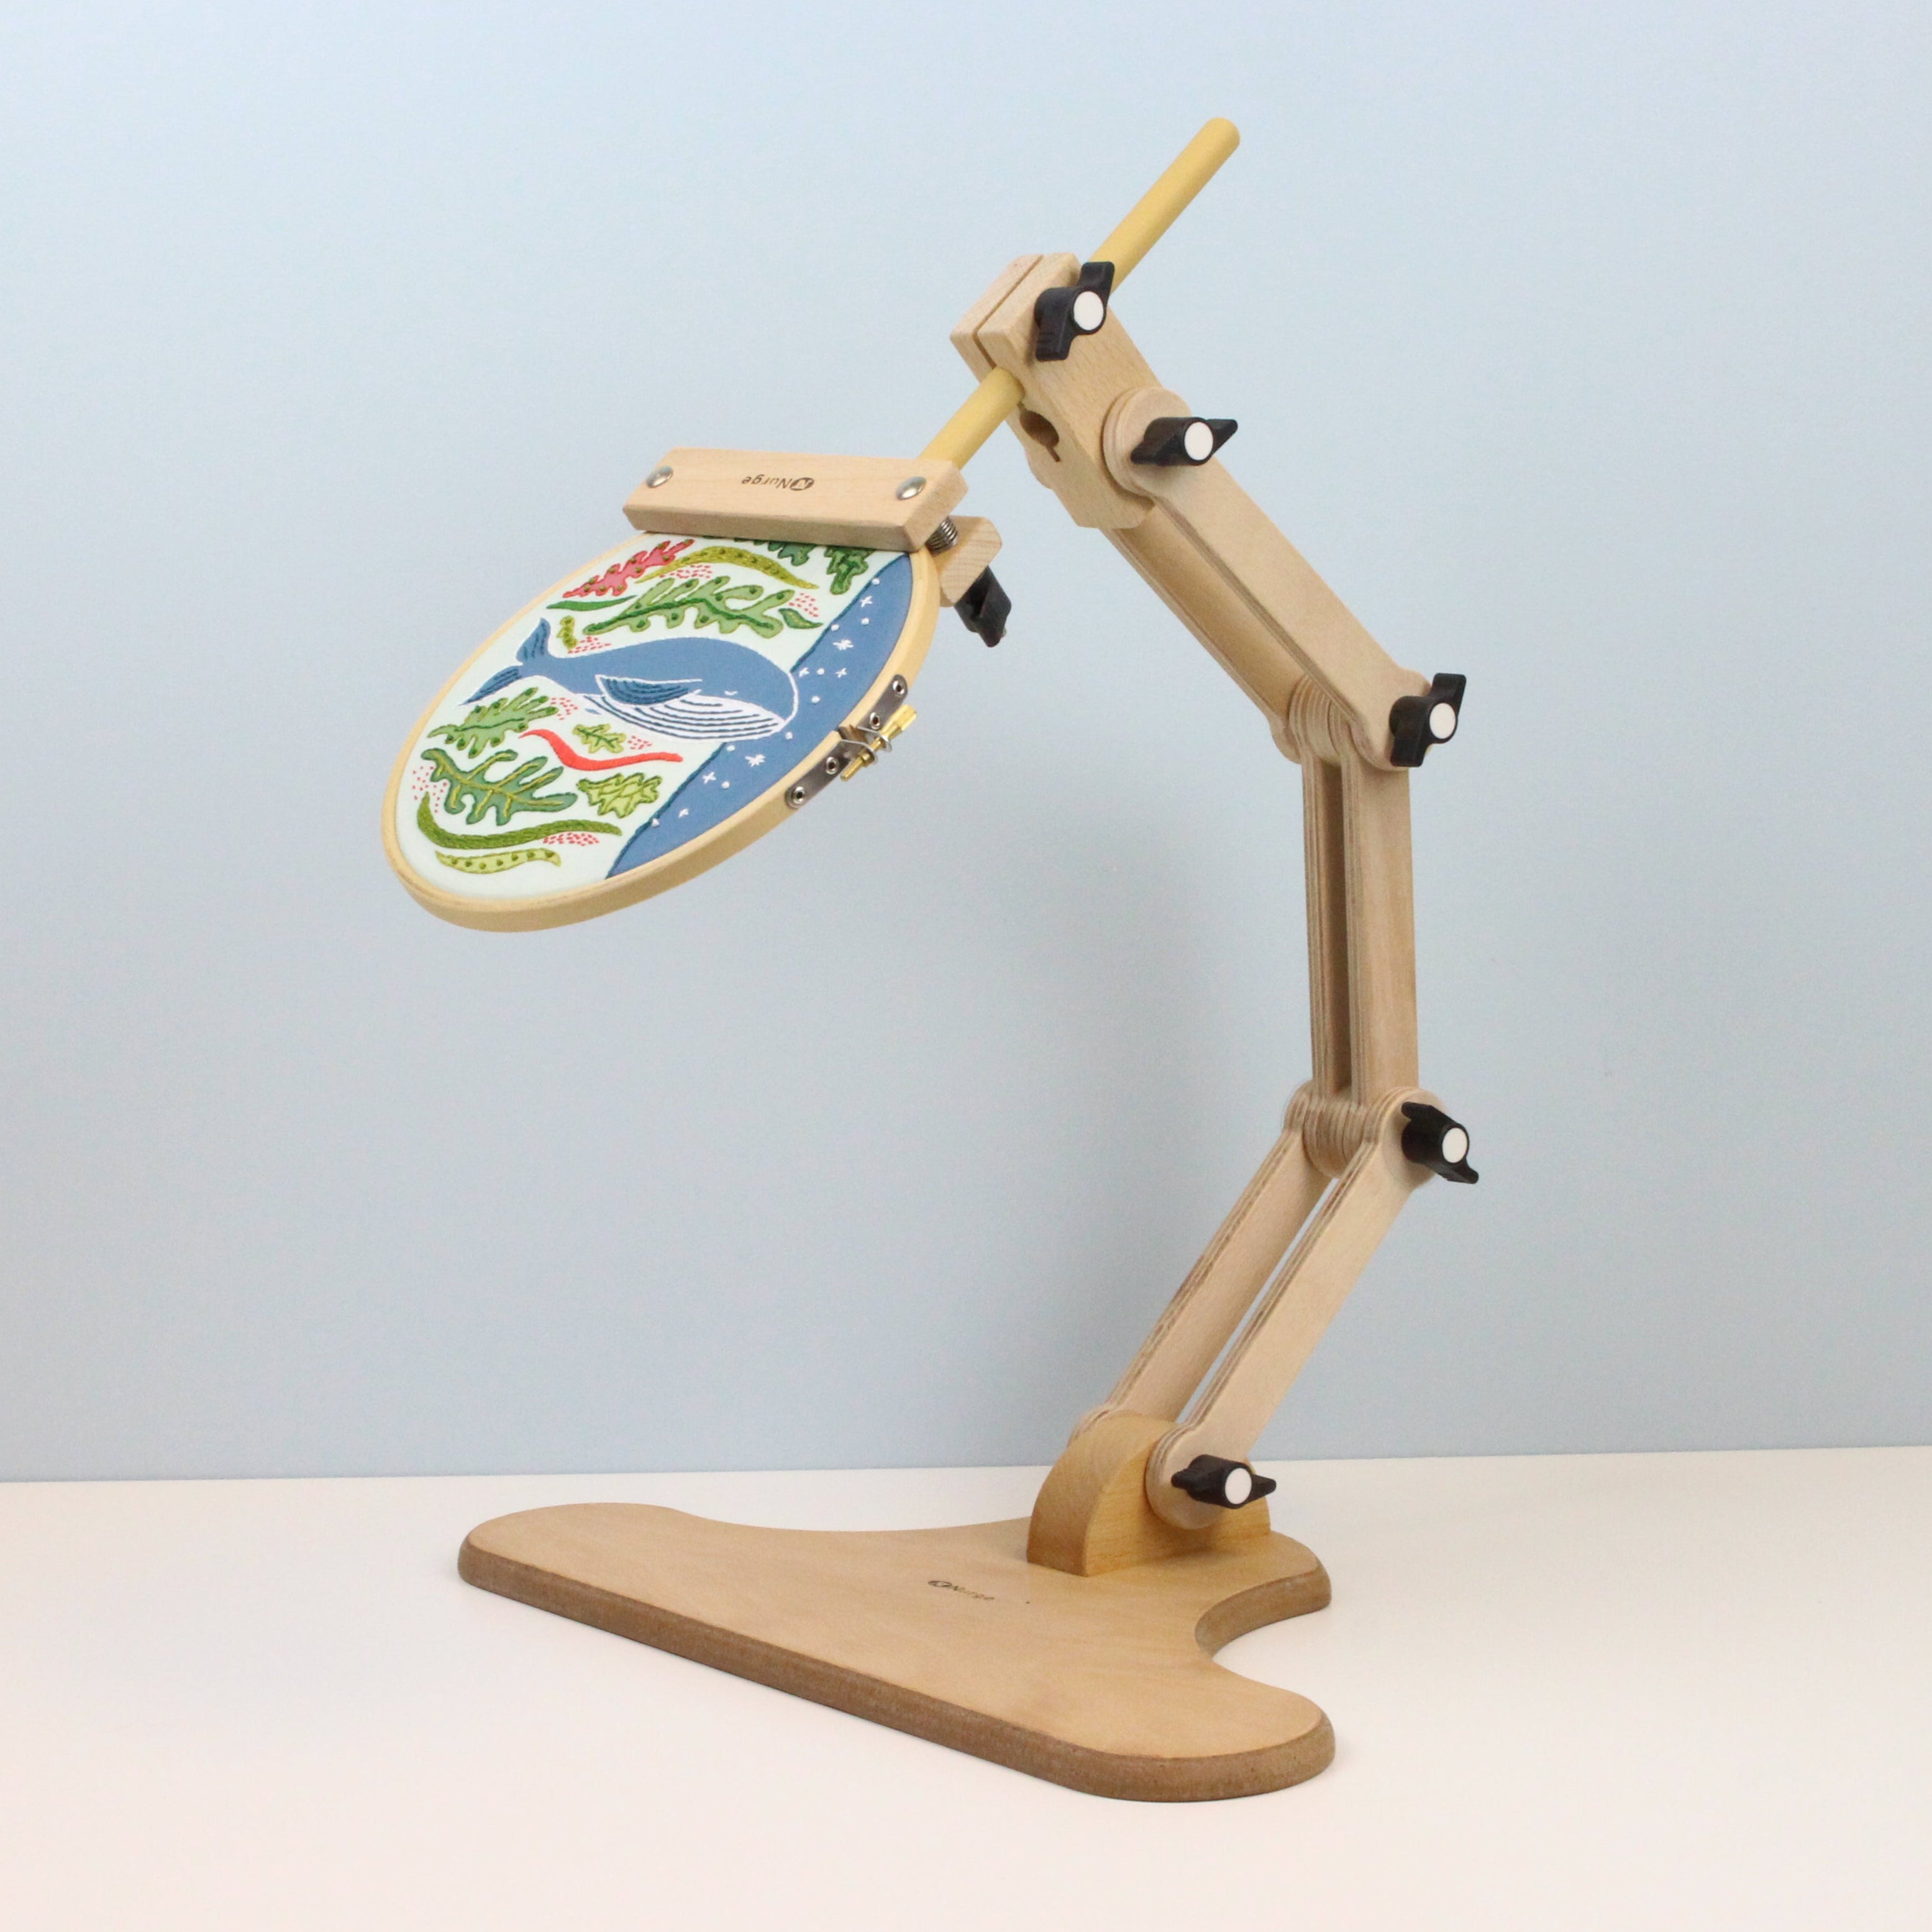
~ If you can fit one, use a hoop whilst stitching to keep your fabric taut. This won't work for more awkward areas like collars, pockets etc. so just aim for a nice even tension when stitching to avoid any pulling or puckering.
~ If the fabric is at all stretchy, don't pull it too tight in the hoop as it will spring back when the hoop is removed and your stitches will bunch up.
~ Think about your fabric, its thickness, and what needle might be best. Thin cottons will be fine with a standard embroidery needle, but thicker fabrics like a denim or canvas might need a long thin needle, or maybe a curved needle - these can be really good for stitching shoes.
~ Think about what thickness of thread is best. For fine details you might want to use 2 or 3 strands. For chunkier details, use 6 strands or even wool. Mix and match different thicknesses to add texture to a piece.
~ Needle grippers are also really helpful when stitching in awkward places.
~ If your needle gets a little sticky, rub it with any rubbing alcohol, hand sanitiser etc. to clean it off. This is more likely to happen if it's warm where you're stitching.
~ Don't worry if you miss a section, or go outside the lines! The sticker will entirely dissolve with only the stitching left, so you can go as freestyle as you like.
~ Aim to use nice short stitches as much as possible - longer stitches might get caught, especially on items you're going to wear or carry.
~ Depending on what and where you've chosen to stitch, you might want to add some iron-on backing once you've finished your stitching to the back of the stitches to protect them from wear and avoid them itching against the skin.
REMOVING THE STICKER
~ Make sure you're 100% happy with the finished stitching before removing the sticker - there's no going back!
~ Don't use hot water! At most, have it lukewarm. In cold water the sticker will just take longer to dissolve.
~ If you find that after soaking, the sticker is being a bit stubborn, run it under your cold tap using the force of the water to agitate and remove it. You can also use a cotton swab to help rub away small areas if you really have a bit that isn't going.